This chapter describes the general parametrization options for objects. The icons described here for parameterizing objects are the same for all projects.
The following table lists the available icons and explains them:
Button |
Description |
|
The Symbol Editor icon opens the symbol editor. Here, you can rotate or flip the symbol, or select an alternative symbol, if available. You can also set a custom size for the icon. |
|
The Delete icon deletes the object |
|
The Pencil icon opens the object’s editing menu. Detailed explanations of this menu can be found in the chapter Using Objects |
|
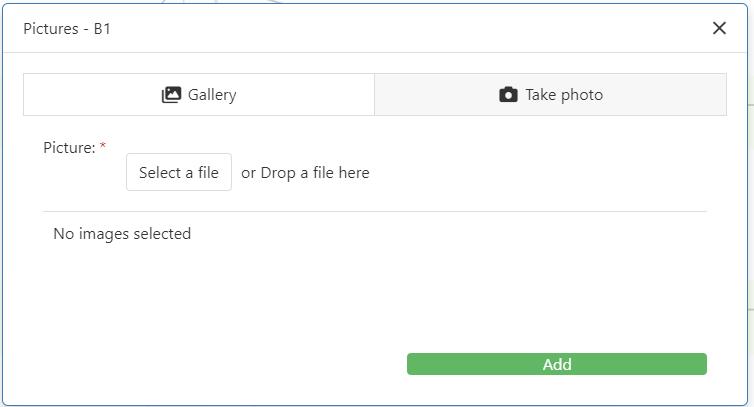
The Capture Image icon opens a dialog where you can either capture an image using a Webcam or load an image from Windows Explorer.
Figure 1 - Adding Images |
|
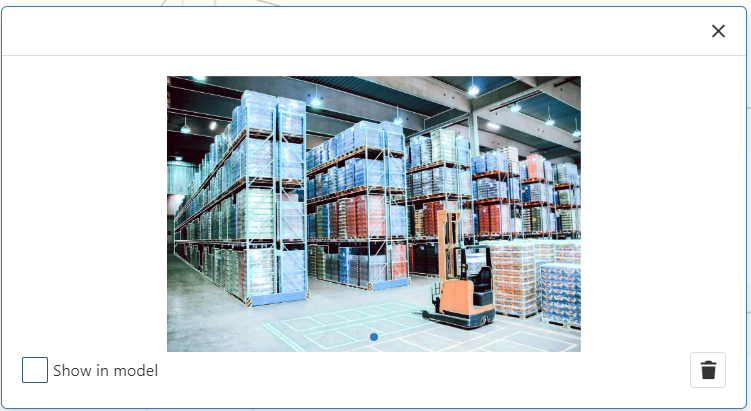
The Select Images icon opens the object’s photo gallery. Photos that were previously created are displayed here.
Figure 2 - View Images With the Show in model option, photos can also be displayed and arranged directly in the modeling interface. In addition, the anchor at the bottom right corner can be used to adjust the image size. |
|
The Hide icon hides advanced product information/images (if displayed) |




© SimPlan AG - Hanau District Court, Commercial Register (Part B) 6845 - info@simplan.de - www.simplan.de/en